
1-Connect to UV-C Sterilization Robot via AR-GUI. (click to see connection settings)
Step-1: Start the Ar-GUI program, then click the “Connection Management > Connections” button.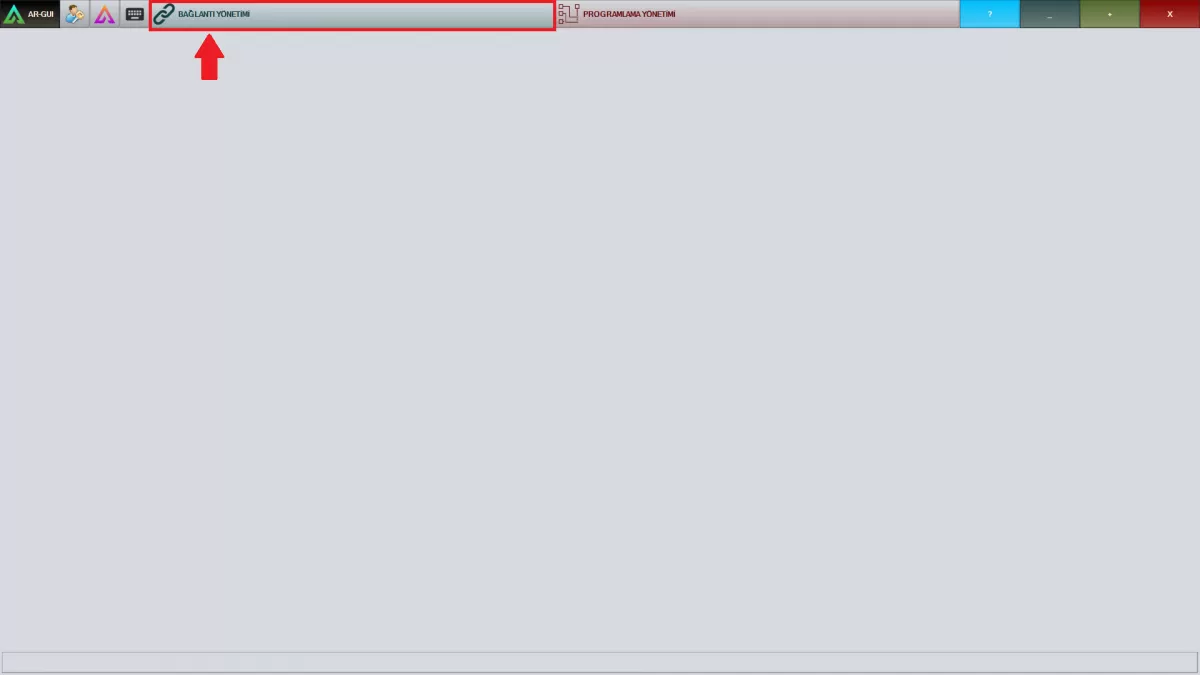 Image A-1: Connection Management Screen
WARNING! Make sure you are connected to the Wifi-Modem on the same network as the robot.
Step-2: Click on the name of the robot you will connect to in the window that popped up
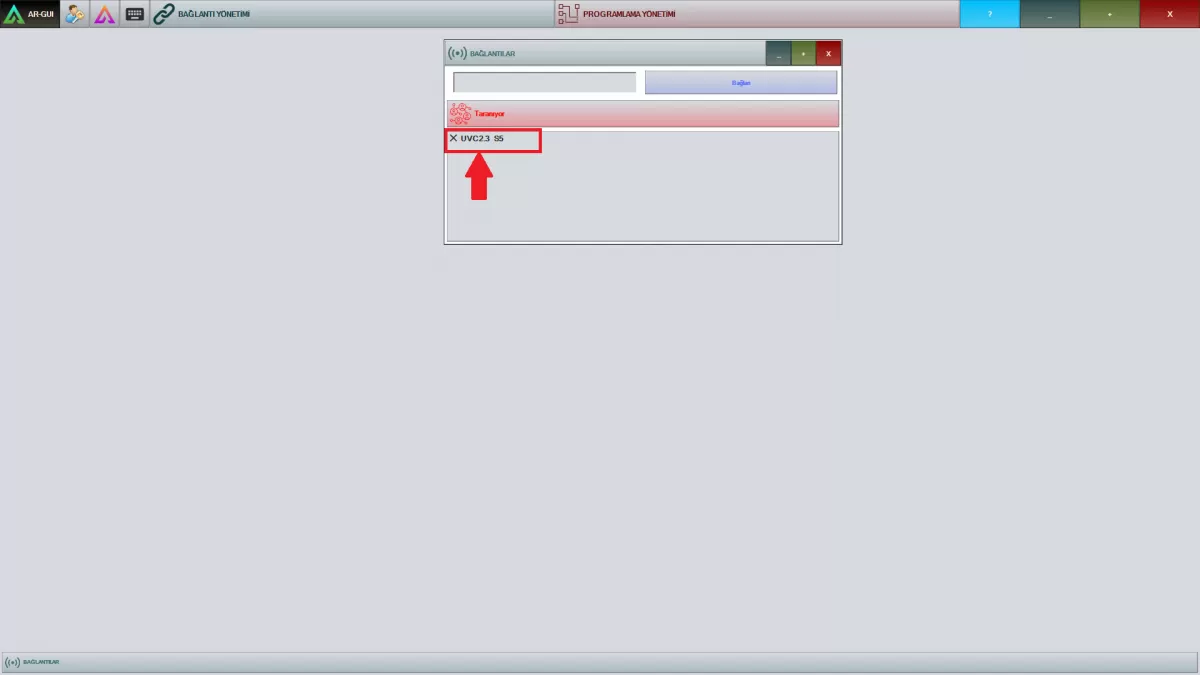 Image A-2: Connections Screen
Step-3: After entering your password given to you by AKINROBOTICS, click the "Login" button.
2-Select "UV-C programming" from "Programming Management" (click to see UV-C programming)
Step-1: After completing the connection, click the "Uvc Programming" button under "Programming Management".
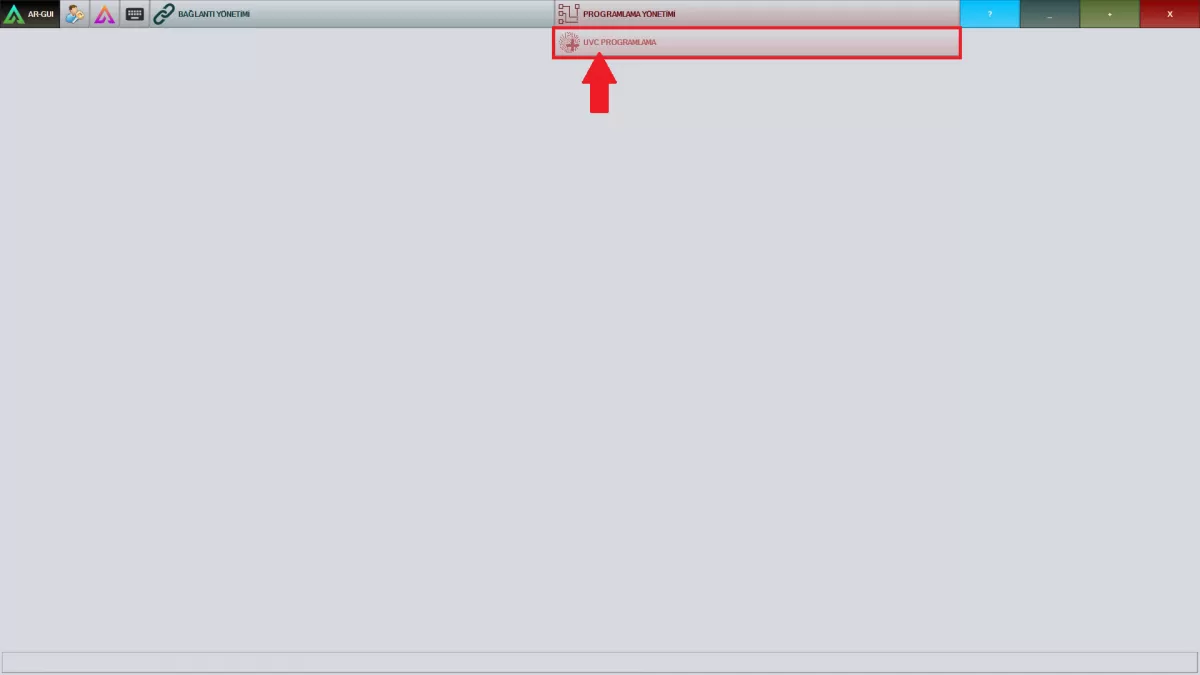 Image B-1: UV-C Programming
3-Start the mapping by clicking the "start mapping" button via "Systems"
STEP-2: Click the “SYSTEMS” button on the pop-up screen
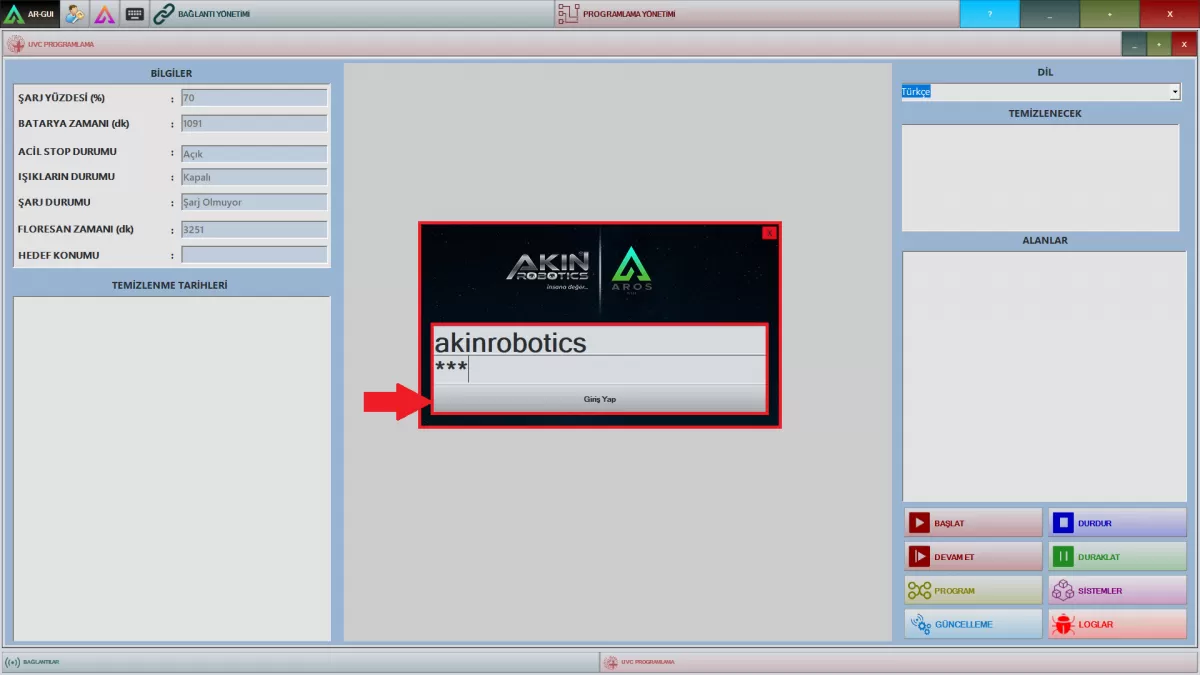 Image B-2: Programming Management Screen
Note: "Systems" is the section where you can make important changes about your robot. Therefore, provide access with your username and password defined for you by AKINROBOTICS.
Note: It is not recommended that people who are not authorized to use the device enter the SYSTEMS.
Step-3: Click the “Start Mapping” button on the systems window popped up.
Step-4: Map out the area you want to be mapped by letting the robot navigate with the help of the joystick.
Step-5: After completing the map, click on the "Save Map" and "Finish Map" buttons in order.
Step-6: Close the Ar-GUI program. Start the Ar-Designer program.
Note: It is not recommended that people who are not authorized to use the device enter the SYSTEMS.
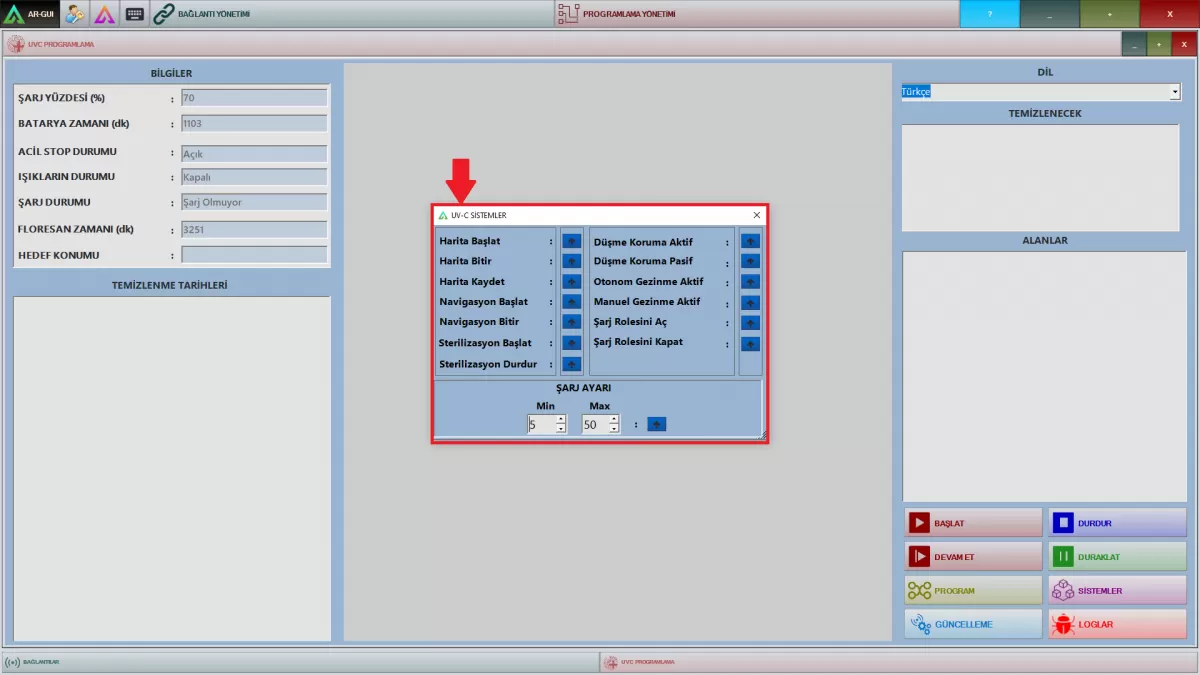
IMAGE B-3: UV-C SYSTEMS SCREEN
4- Save your map after completing the mapping.
5- You can complete mapping process by clicking the “Finish the Mapping” button.
6- You can view the map you created from the Ar-Designer program.