
AR-DESIGNER: DESIGN CREATION
AR-DESIGNER: DESIGN CREATION
Creating a New Design
To create the design you want to see on Mini Ada's screen, follow the File > Create New Design steps.
Create the New Design Name from the screen that opens, then specify the name of your first page and click the "CREATE" button.
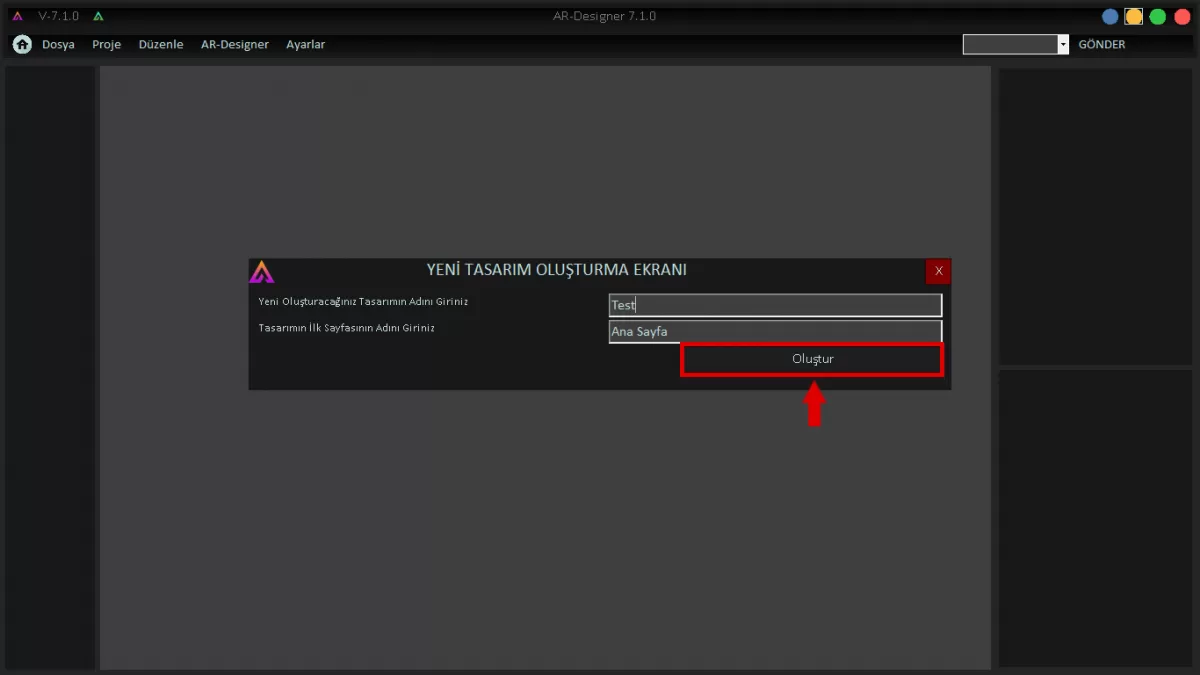 Image 1: New Design Creation Screen
Make sure that the new design you created is added to the Ar-Designer application. (See: Image 2)
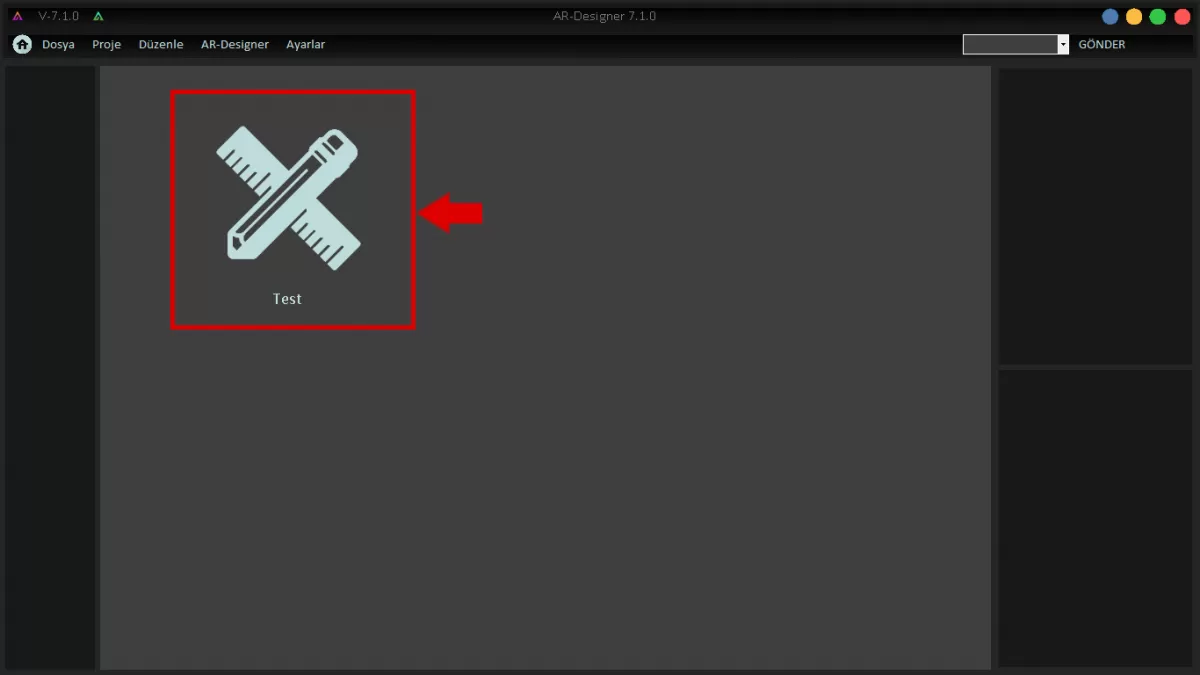 Image 2: Project Screen
As you can see in Image 3, click the Add New Page icon to add new pages to your design.
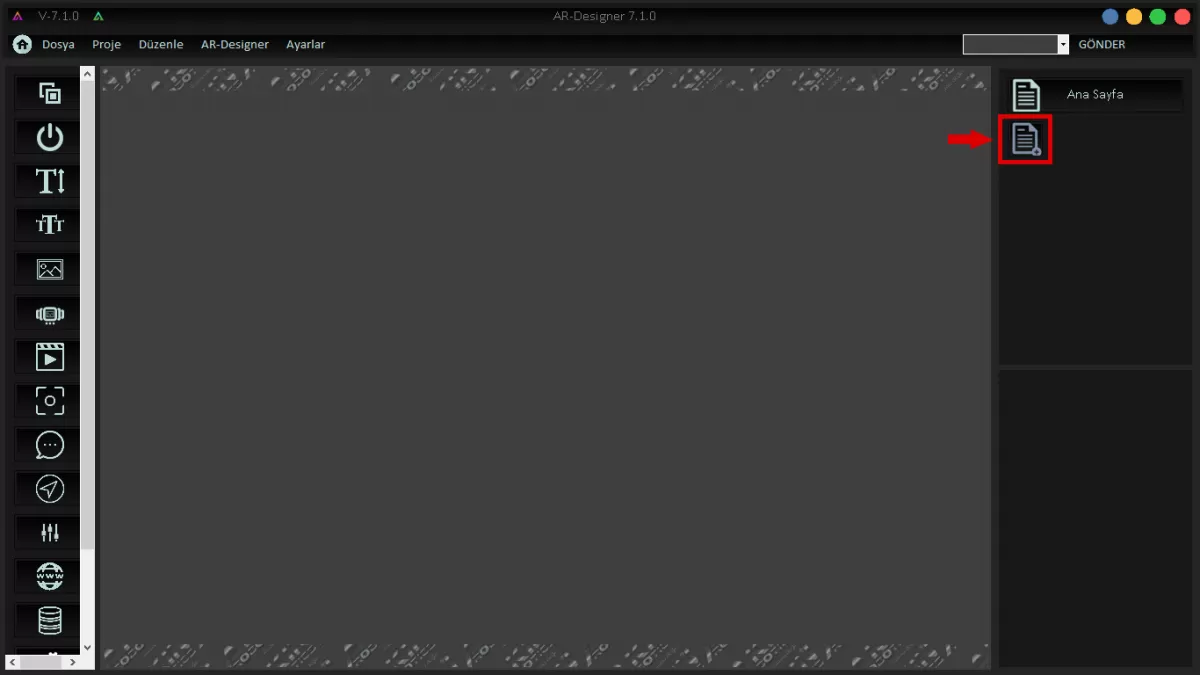 Image 3: Add New Page
Enter the new page name as shown in Image 4 and click the create button.
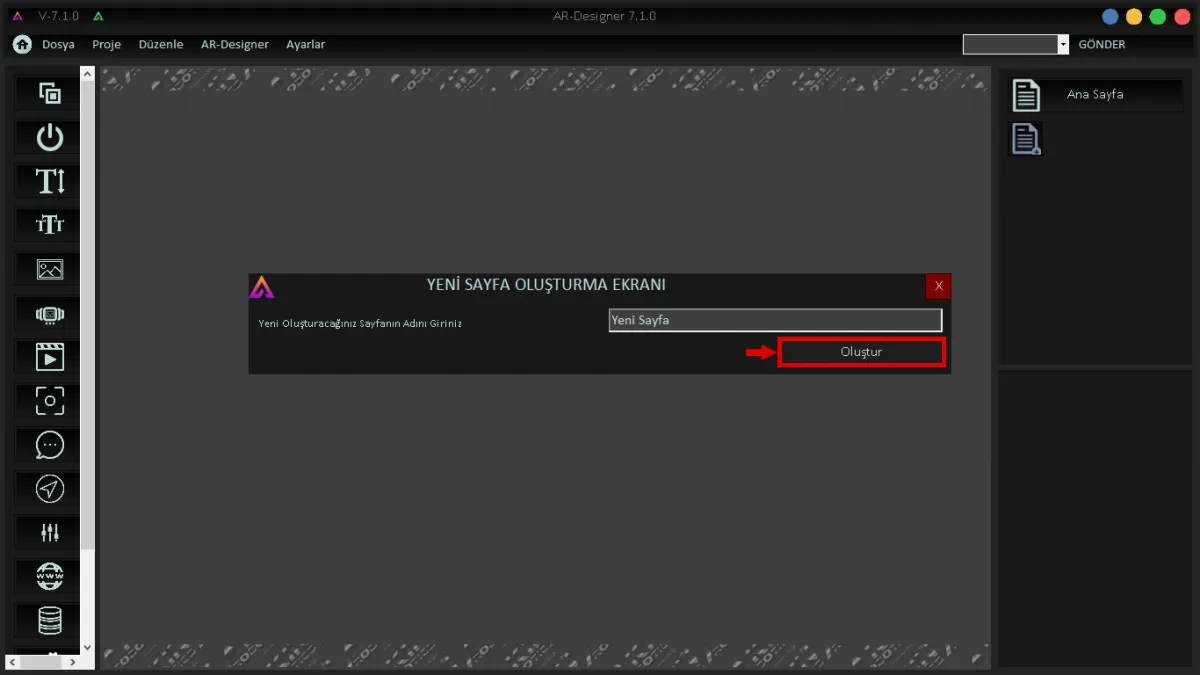 Image 4:New Page Creation Screen
Image 4 New Page Creation Screen The new page added as shown in Image 5 will be located just below the Home Page.
 Image 5: New Page Creation Screen
We add the Background Image that we want to add to our design from the upper left corner as seen in Image 6.
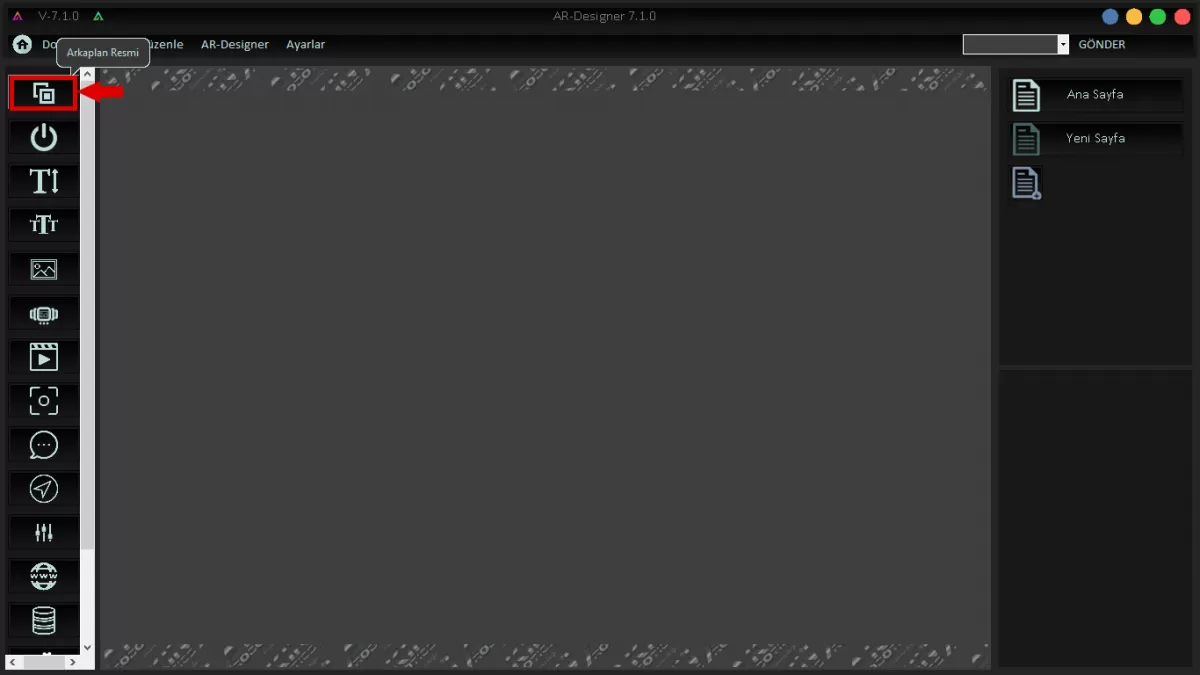 Image 6: Background Image Screen
 Image 6-1: Background Screen
Click on the 'Button' icon to make button assignments that you will actively use on your design. Then position your button where you want, at the size you want, with the drag-and-drop method on the application screen.
 Image 7: Button
You can set the button properties by right-clicking on the button you added.
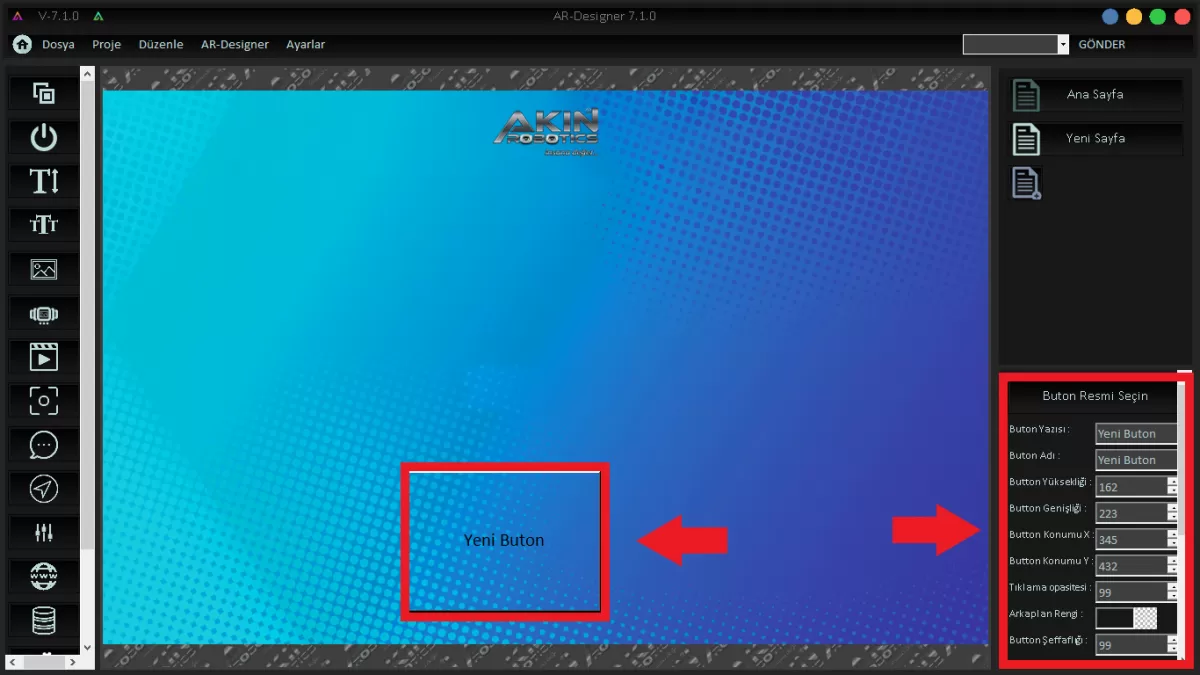 Image 7-1: Button Properties
By clicking on the text icon, you can add text to your design with the drag and drop method. Right-click the mouse to make changes to the properties of the text you add. You can change the text properties from the window that opens at the bottom right of the screen.
 Image 8: Text
 Figure 8-1:Text Properties Screen
“Marquee” provides text transitions in the design you create. With this feature, you can use many texts on the same page. You can specify the text properties from the bottom right of the screen.
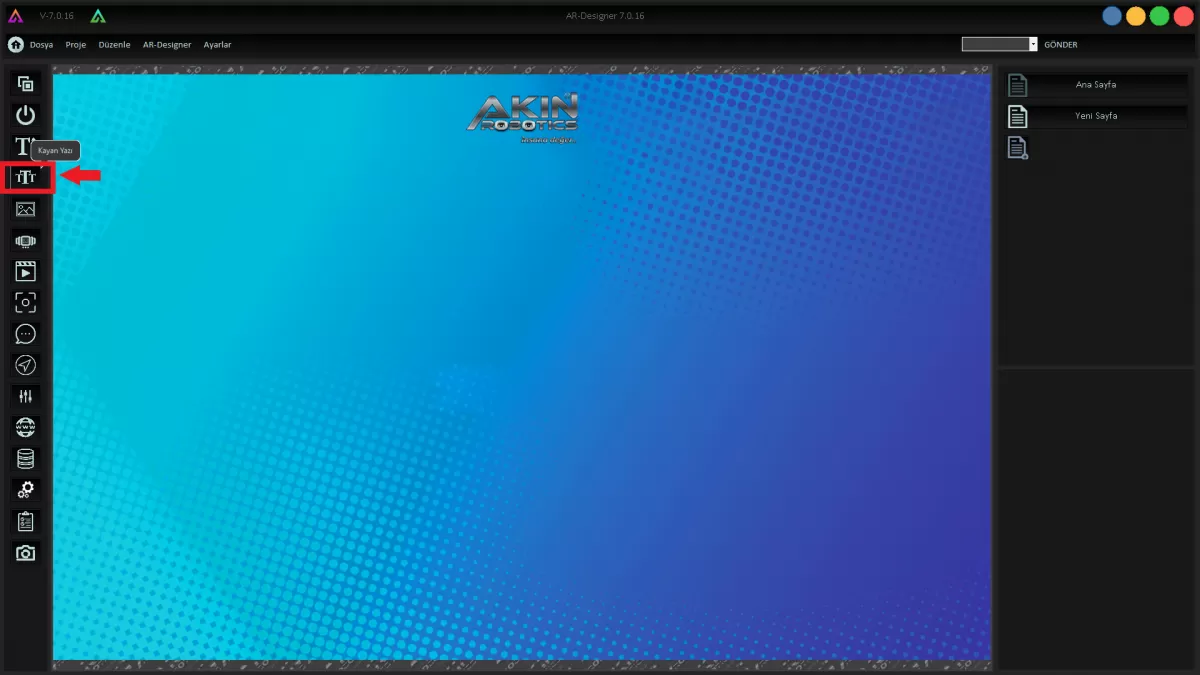 Image 9: Marquee
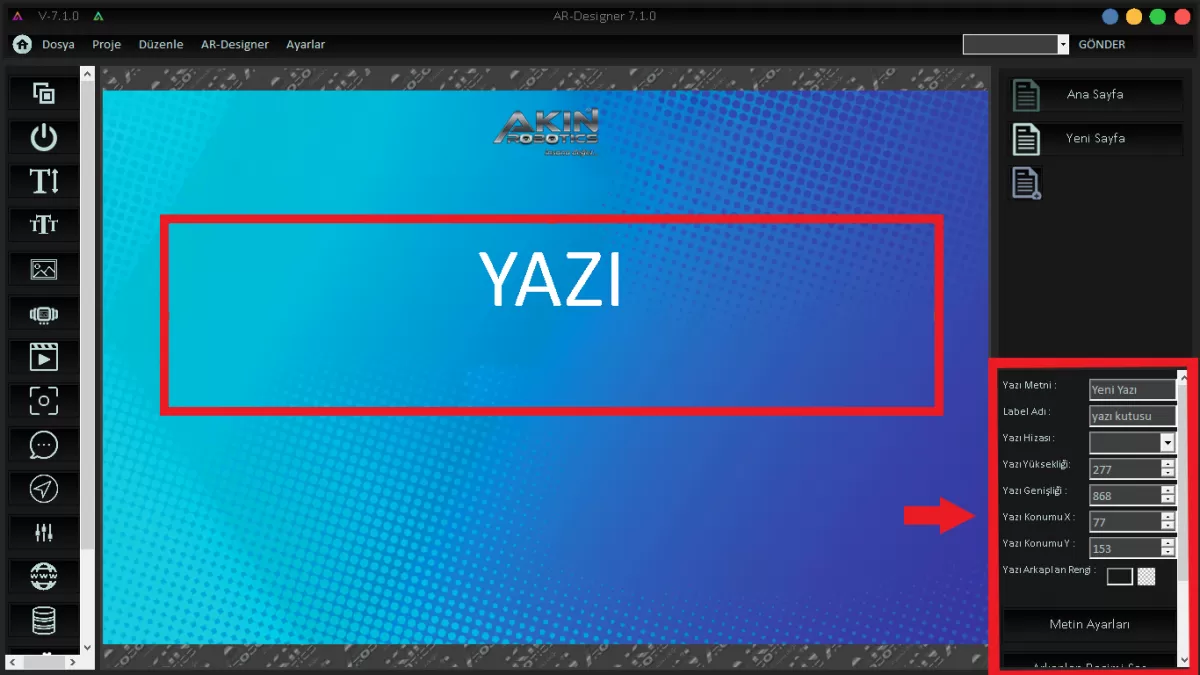 Image 9-1: Marquee Properties
To add a picture to your design, click on the Picture tab as shown in Image 10. Then add your image to your design in any size you want with the drag and drop method. You can set its properties by right-clicking on your image.
 Image 10: Picture
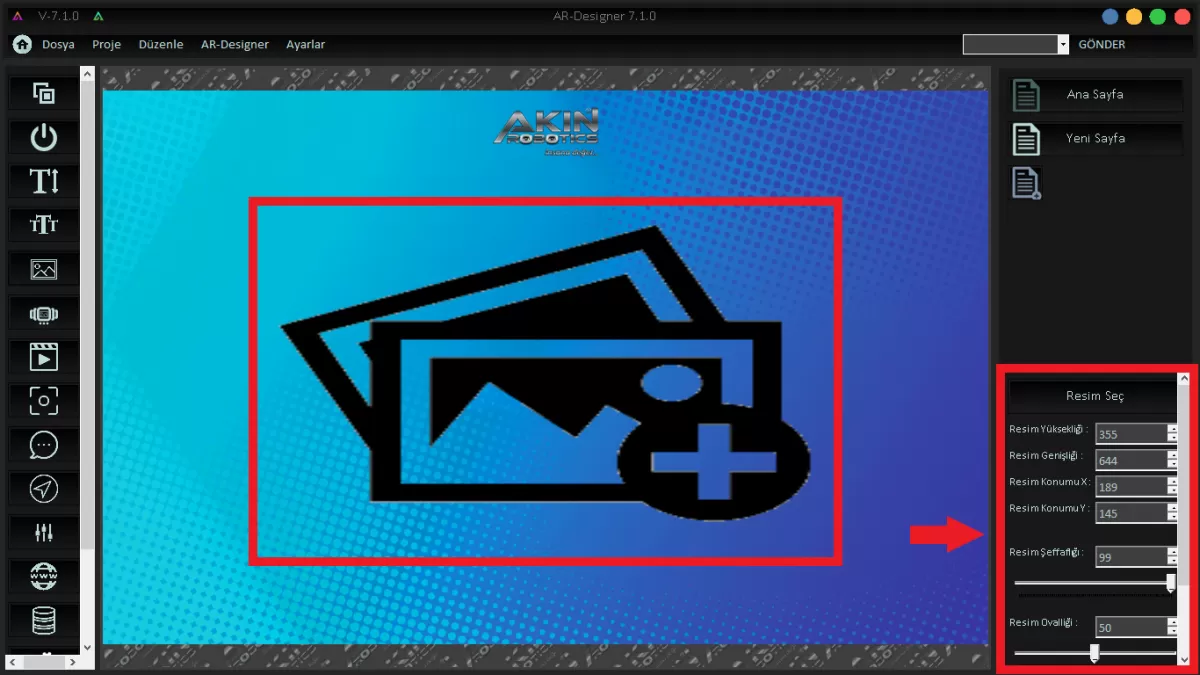 Image 10-1: Picture Properties Screen
Click on the "Floating Picture" button to add more than one picture to the page of your design. You can position it in the desired size with the drag-and-drop method. You can change the properties in the Right Bottom window to suit your design.
 Image 11: Marquee Properties Screen
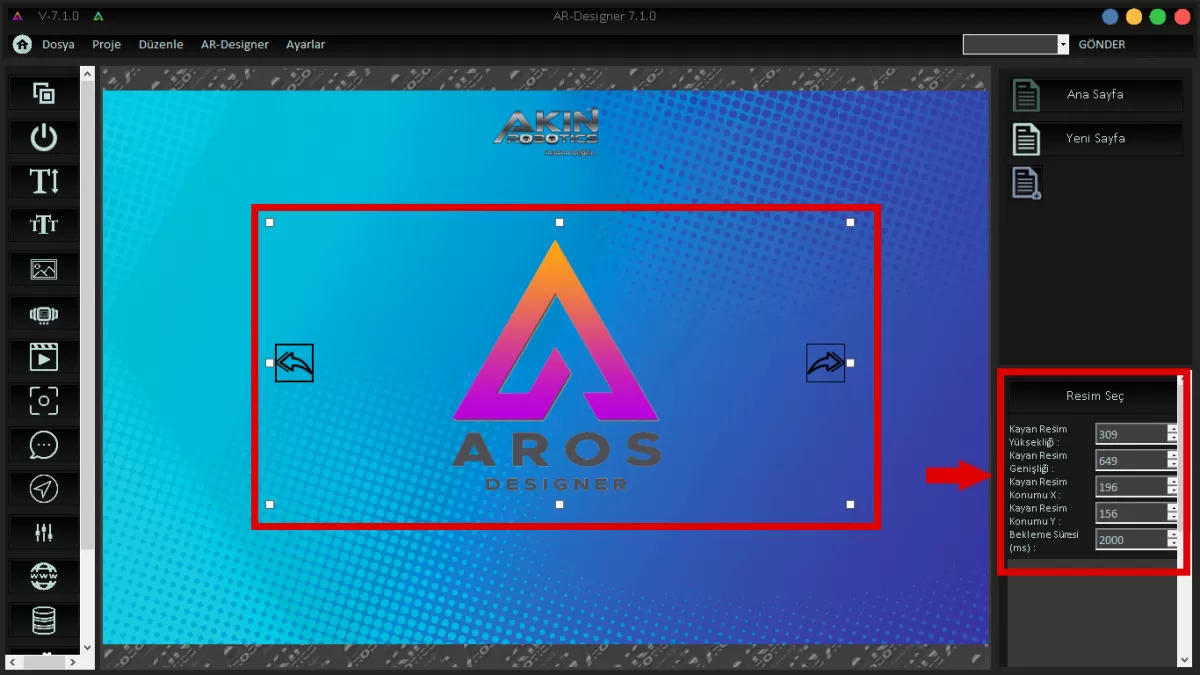 Image 11-1: Marquee Properties Screen
Click the “Video” button as shown in Image 12 to add a video to your design. Add the desired size to your design with the drag-and-drop method. Edit the properties of your video from the lower right window. (12-1)

Image 12
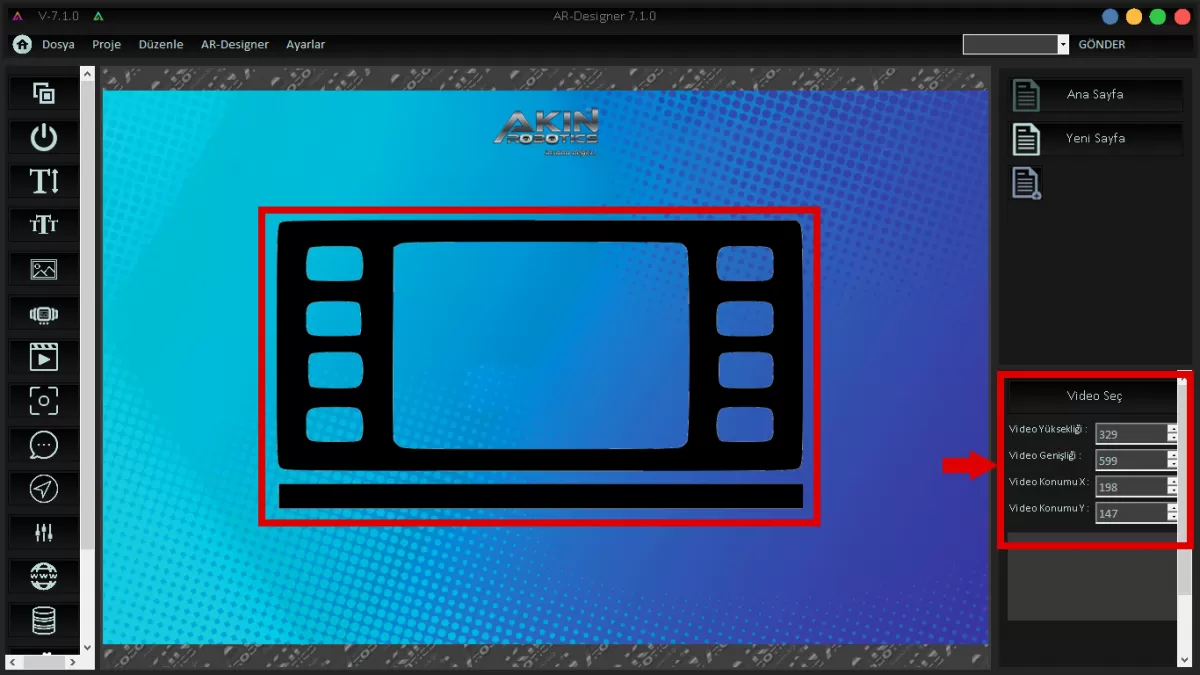 Image 12-1
Video Properties Screen To transfer the snapshots Mini Ada took with the camera on her head to your design, click the "Camera" icon and add them to your design.
 Image 13: Camera Properties Screen
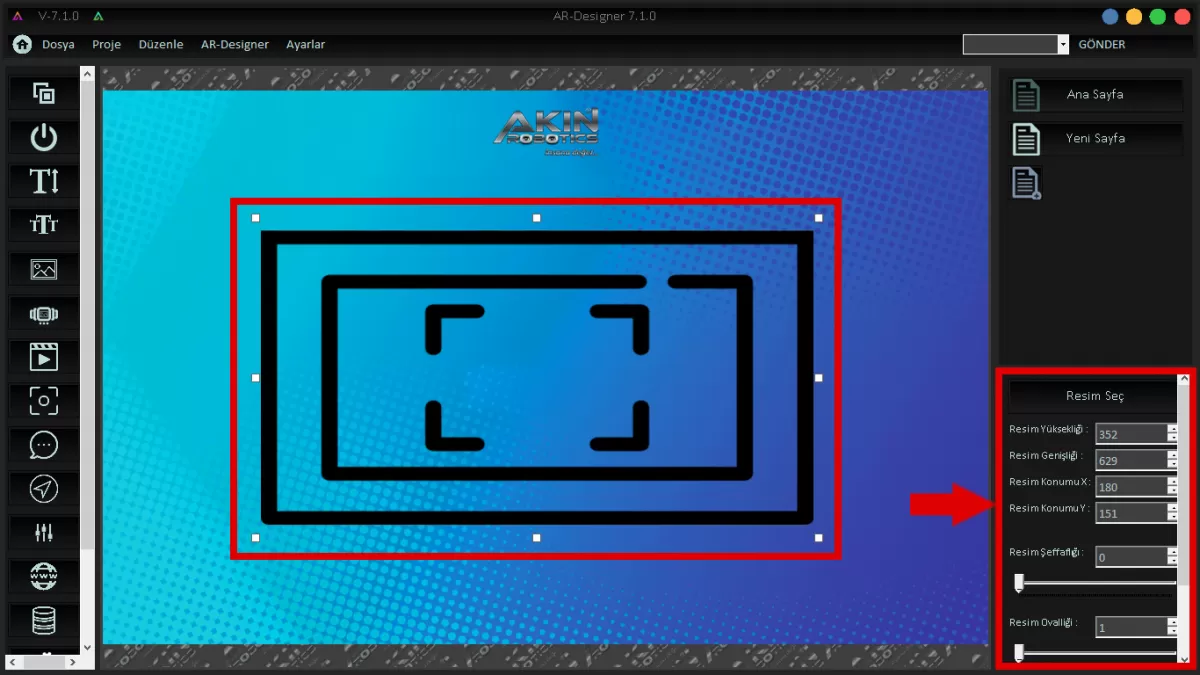 Image 13-1: Camera Properties Screen
You can instantly view the words that Mini Ada detects and speaks by adding the "Speech Window" to your design. Use the drag-and-drop method for this operation.
 Image 14: Conversation Window Screen
Image 14: Conversation Window To view and edit the Conversation Window properties, right-click the Conversation Window you have added to your design. You can edit the Conversation Window from the properties tab that opens at the bottom right of the screen.
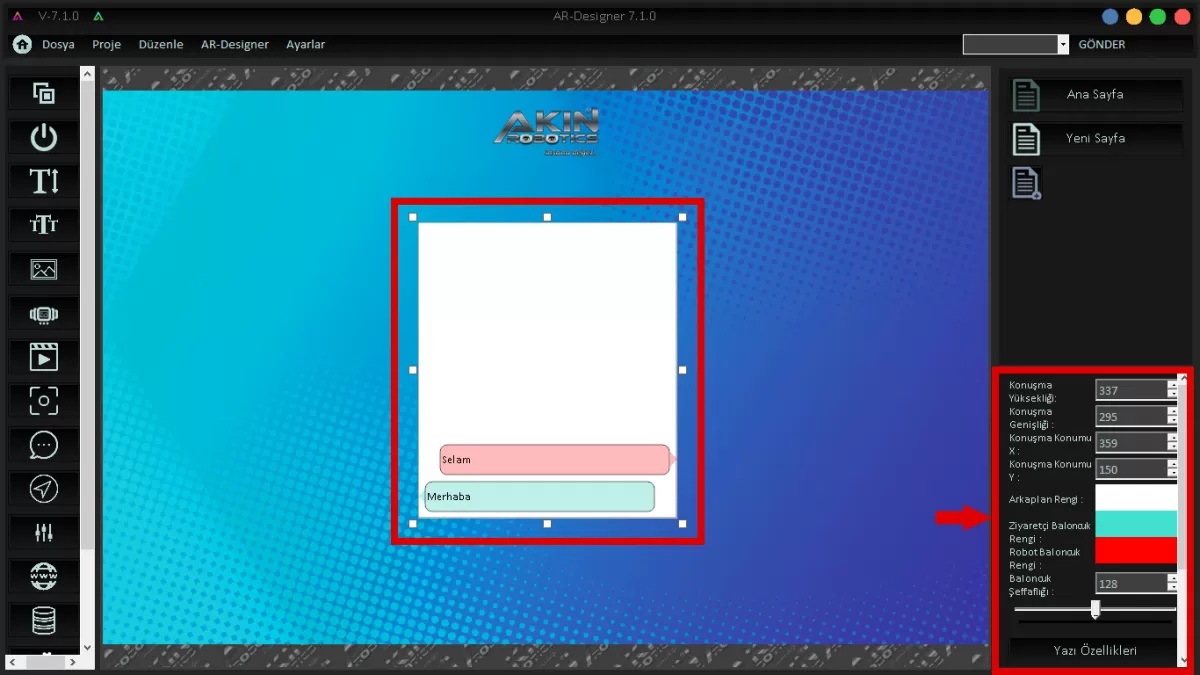 Image 14-1: Conversation Window Screen
Click on the “Navigation” icon to view, edit and position the map extracted through the Ar-Gui application. Then click on the “Lidar-Map Manager” option from the window that opens.
WARNING! You can only use this feature for Mini Island with the Lidar-Indoor Mapping system.
 Image 15: Navıgatıon
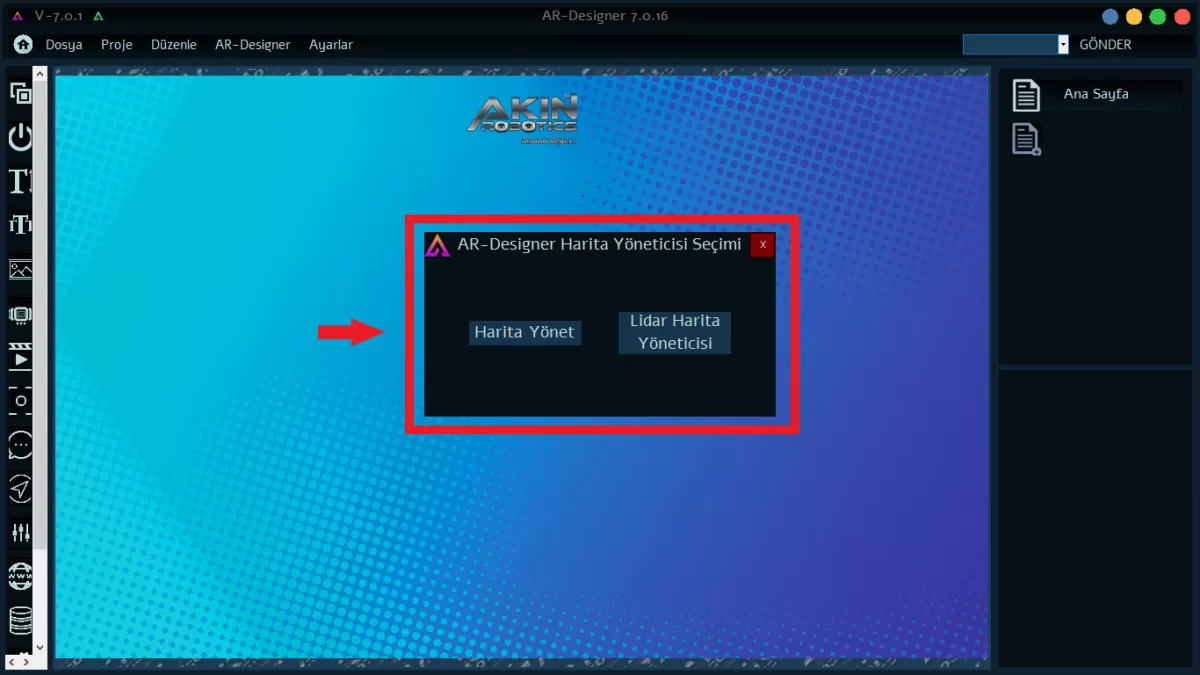 Image 15-1: Map Manager Selection
Click the “Volume” button to change the volume of the Mini Ada.
 Image 16: Volume
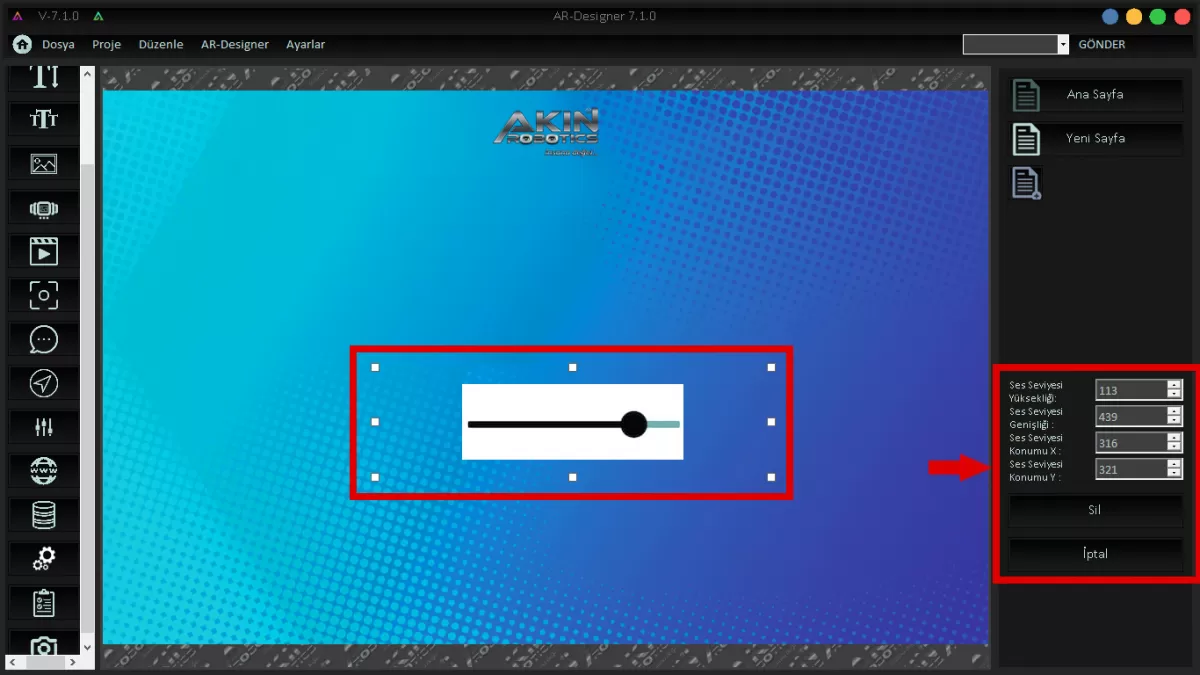 Image 16-1: Volume Screen
After saving your completed design, write down the IP address of your robot as shown in Image 17. Click the "Submit" button and send your design to your robot.
 Image 17: Send Design to Robot
Close the AR-Designer program and open the AR-Gui program.
BEGINNING: AR DESIGNER
1-Create New Design
Click the Create New Design button as seen in Image 1 for the design you will create to use on the Mini ADA screen.
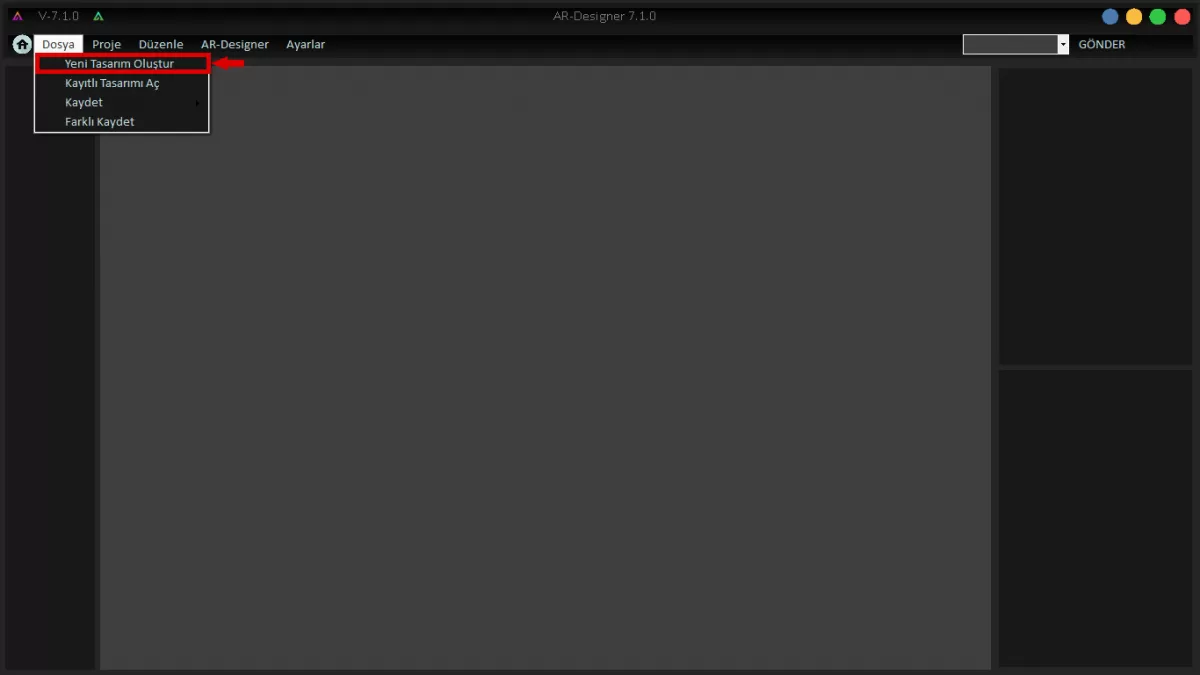
Image 1: New Design Creation Screen
2-Open Saved Design
You can open any design you have previously created on the Designer by clicking the Open Saved Design button.
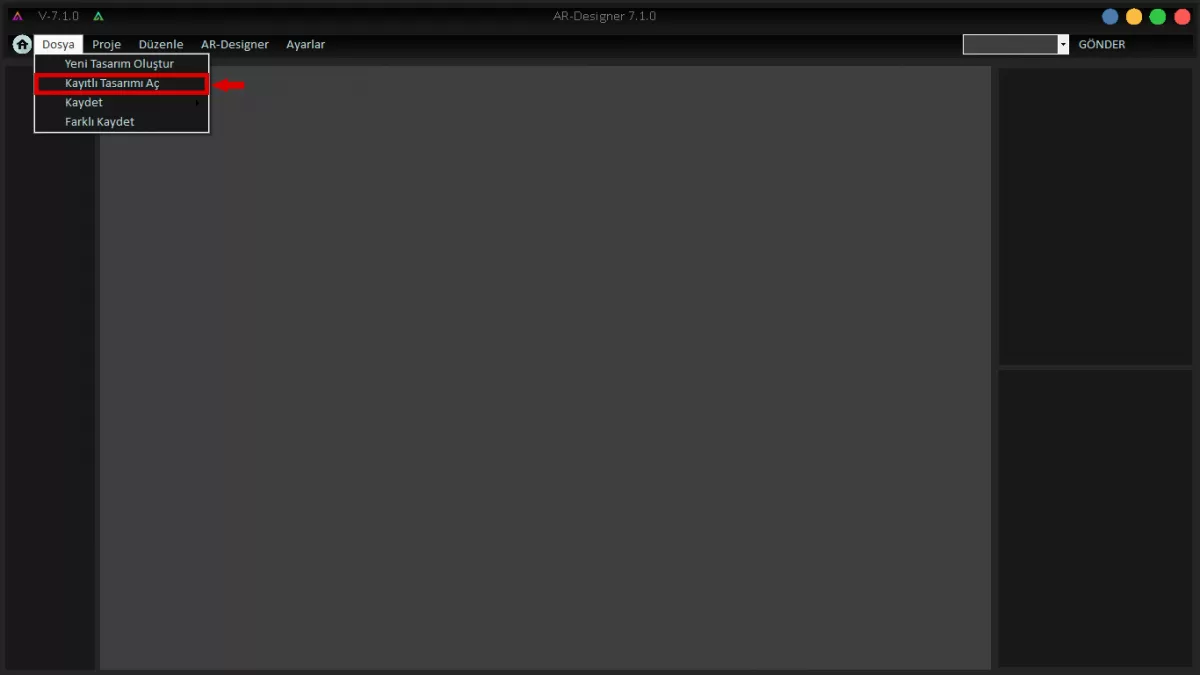
Image 2:Open Saved Design
3- Save-Save As
You can save the designs you have created by clicking the "Save" or "Save As" button.
Image 3: Save Design

Image 3-1: Save As Design
PROJECT
1-Add New Page
To add a new page within the design you have created, follow the Project > Add New Page commands as shown in Image 4.
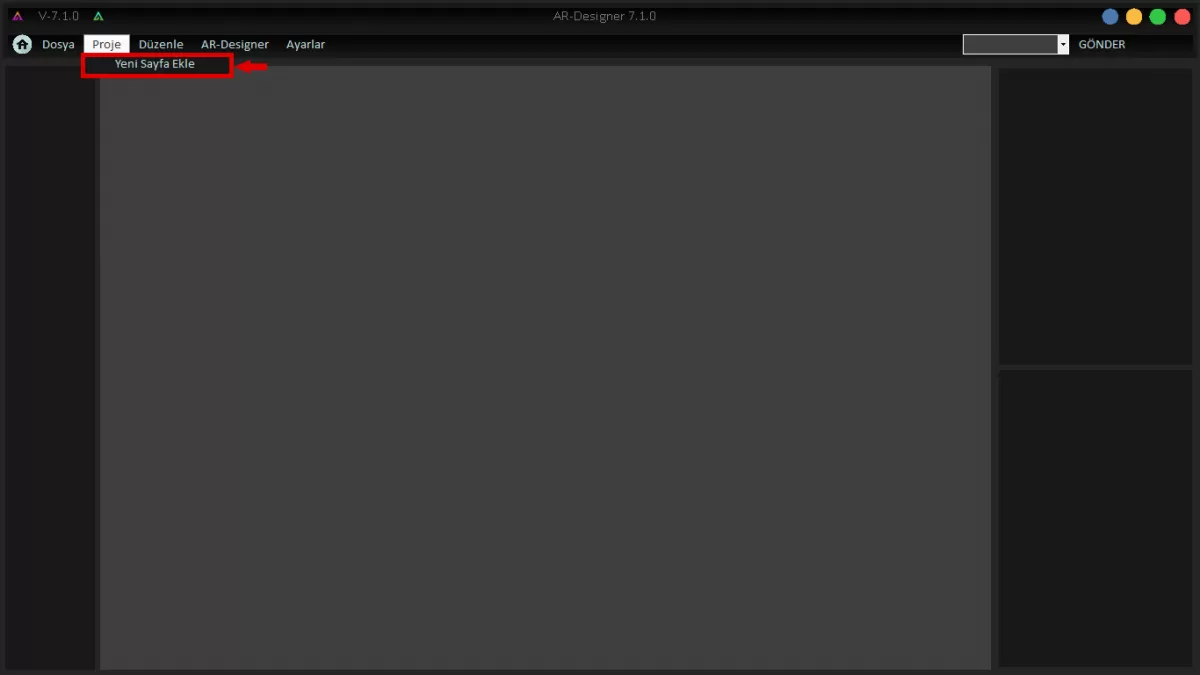
Image 4: Add New Page
EDIT
Please use the Edit button to make edits such as "Delete-Copy-Paste" in the design you have created.
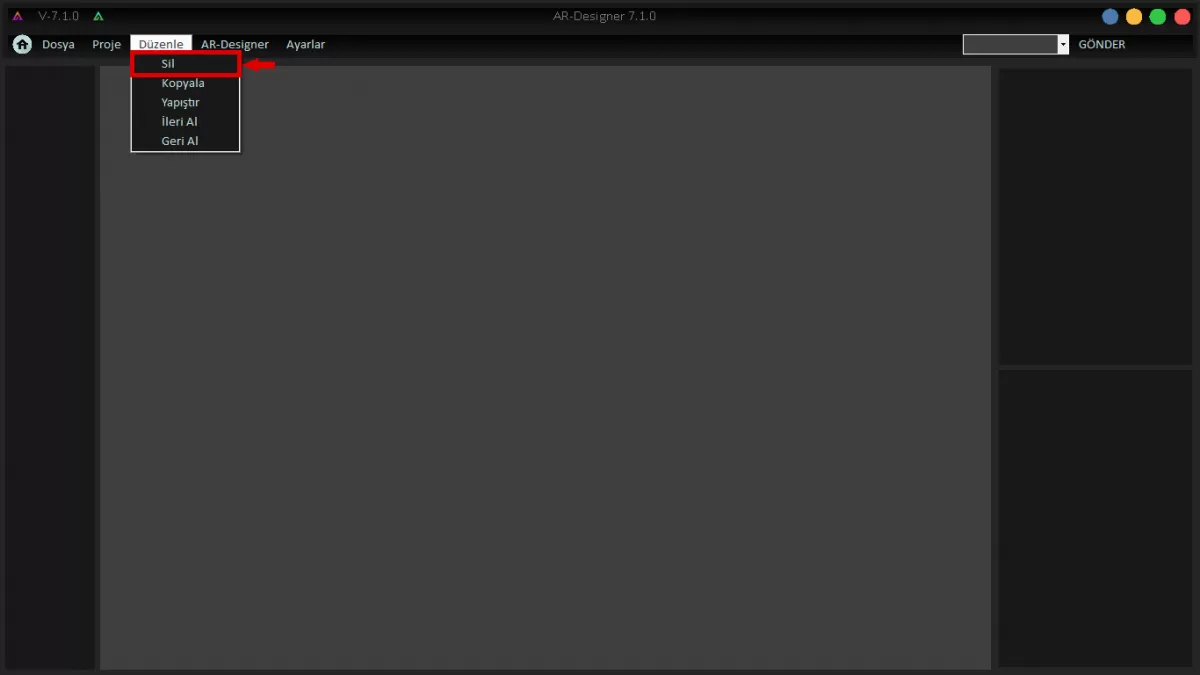
Image 5: Delete
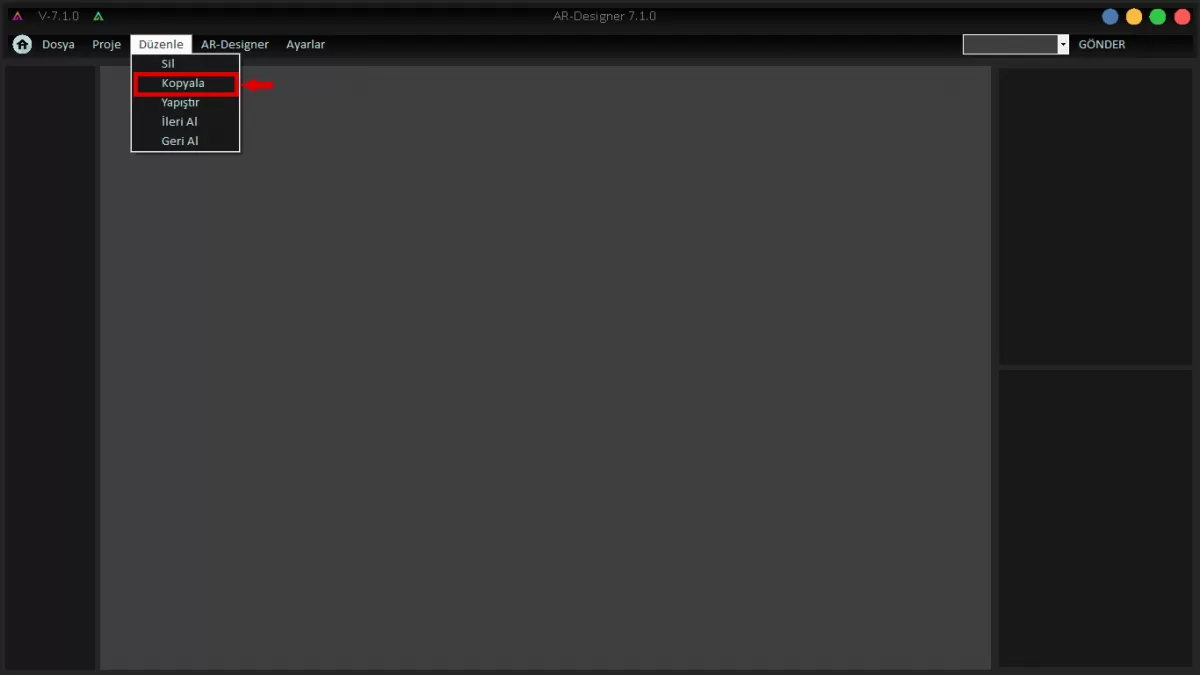
Image 5-1: Copy
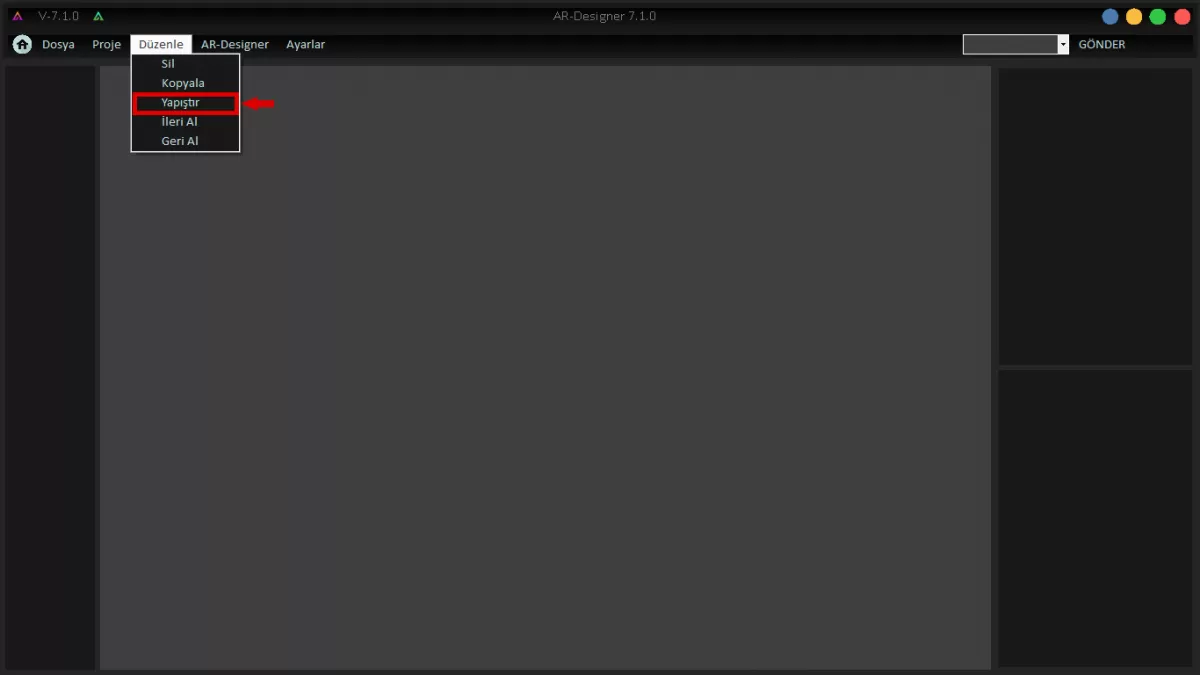
Image 5-2: Paste
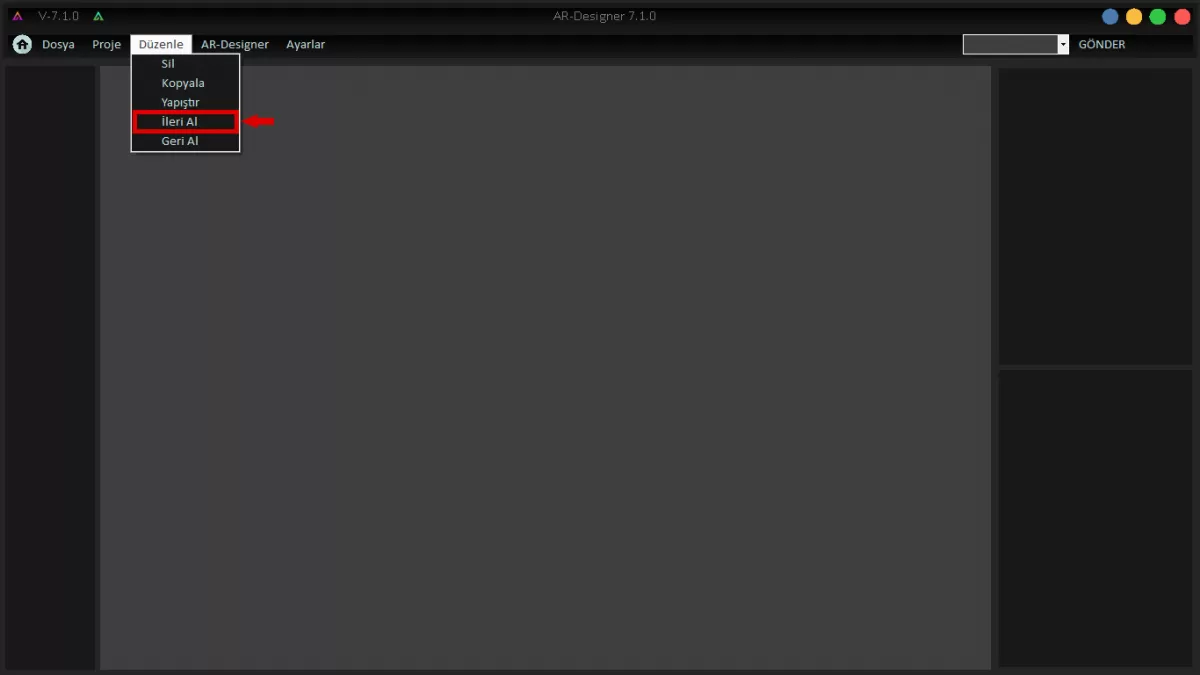
Image 5-3: Take Forward
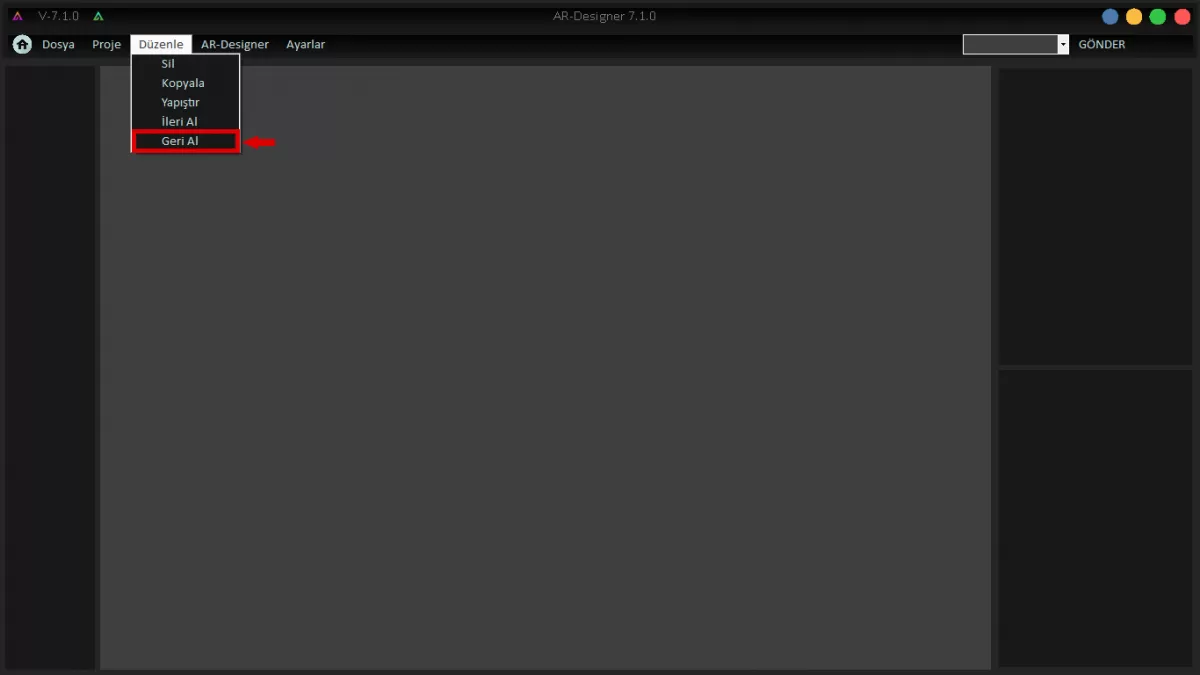
Image 5-4: Undo
AR-DESIGNER
You can change the theme of your application, set the font and size, and specify the color gradient. Close and open the application so that your changes can work stably.
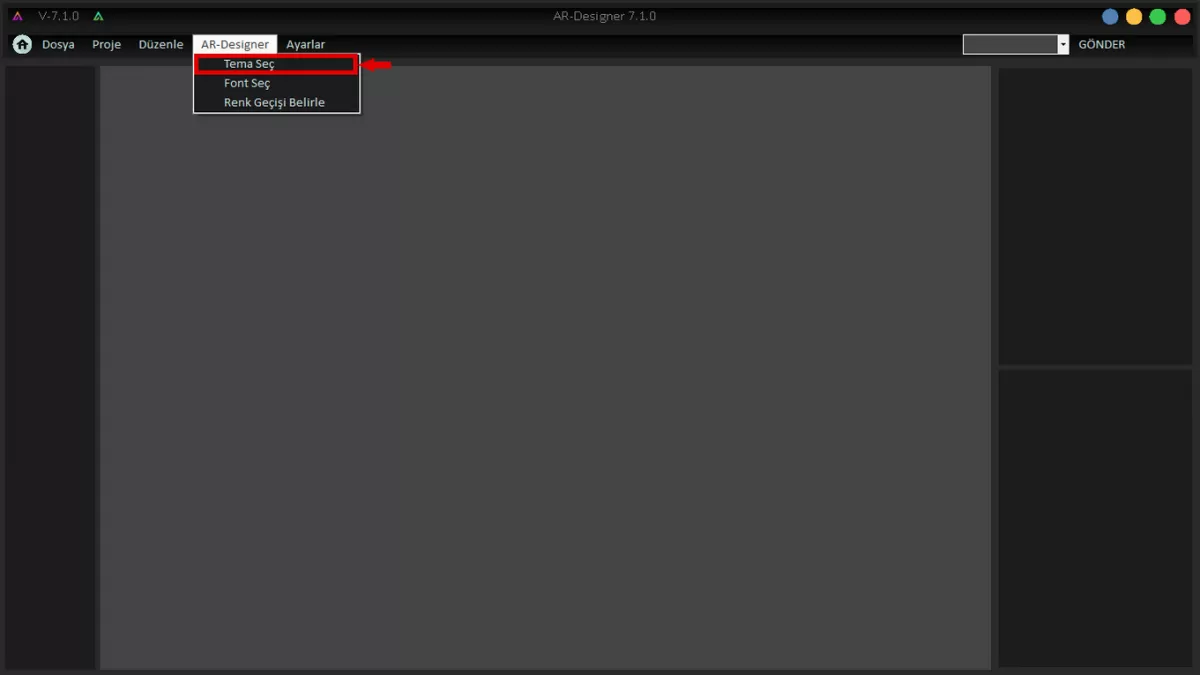
Image 6: Select The Theme
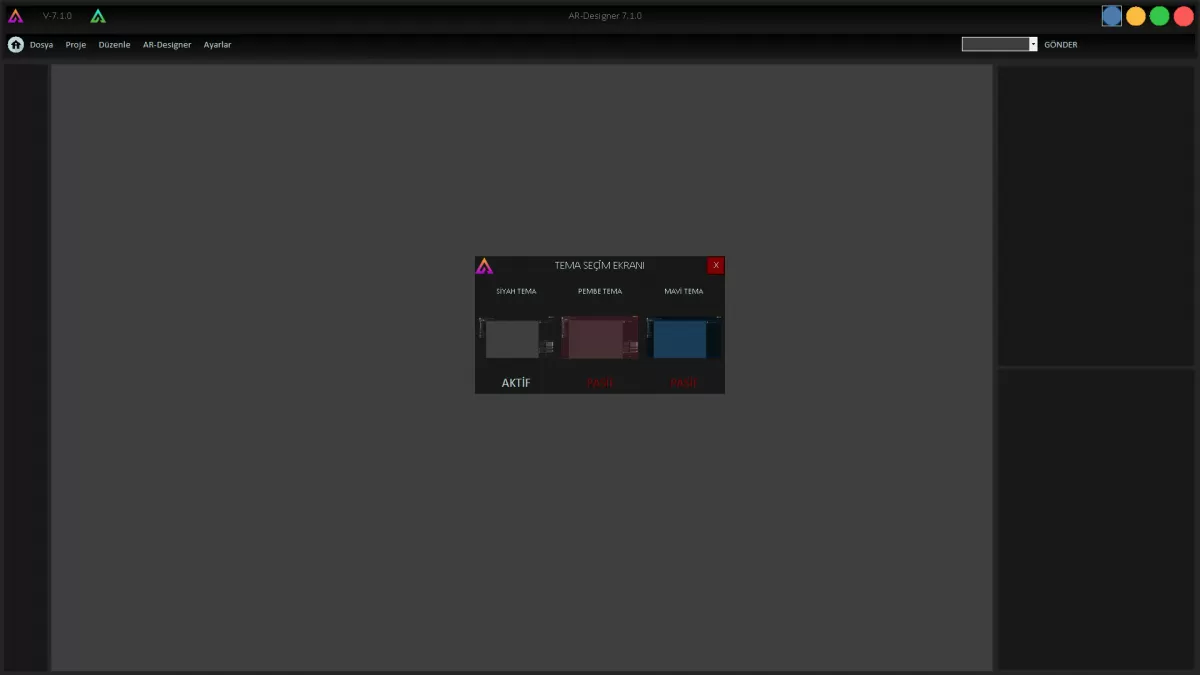
Image 6-1: Select The Theme Screen
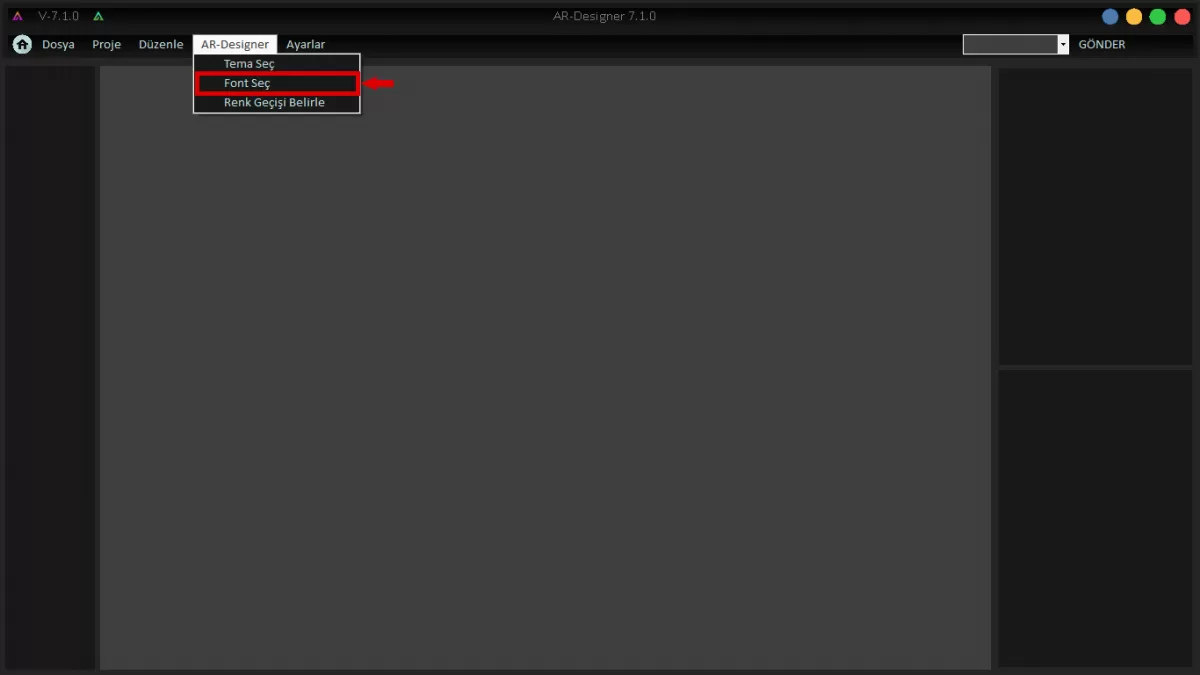
Image 7: Select Font
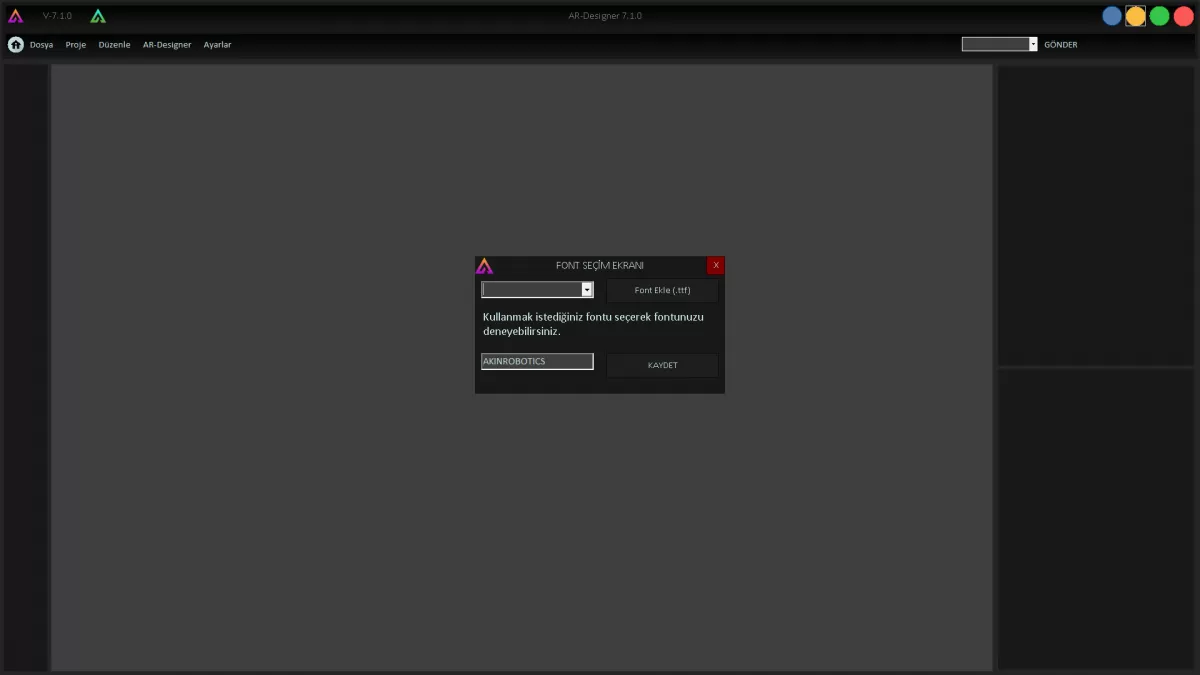
Image 7-1: Font Selection Screen
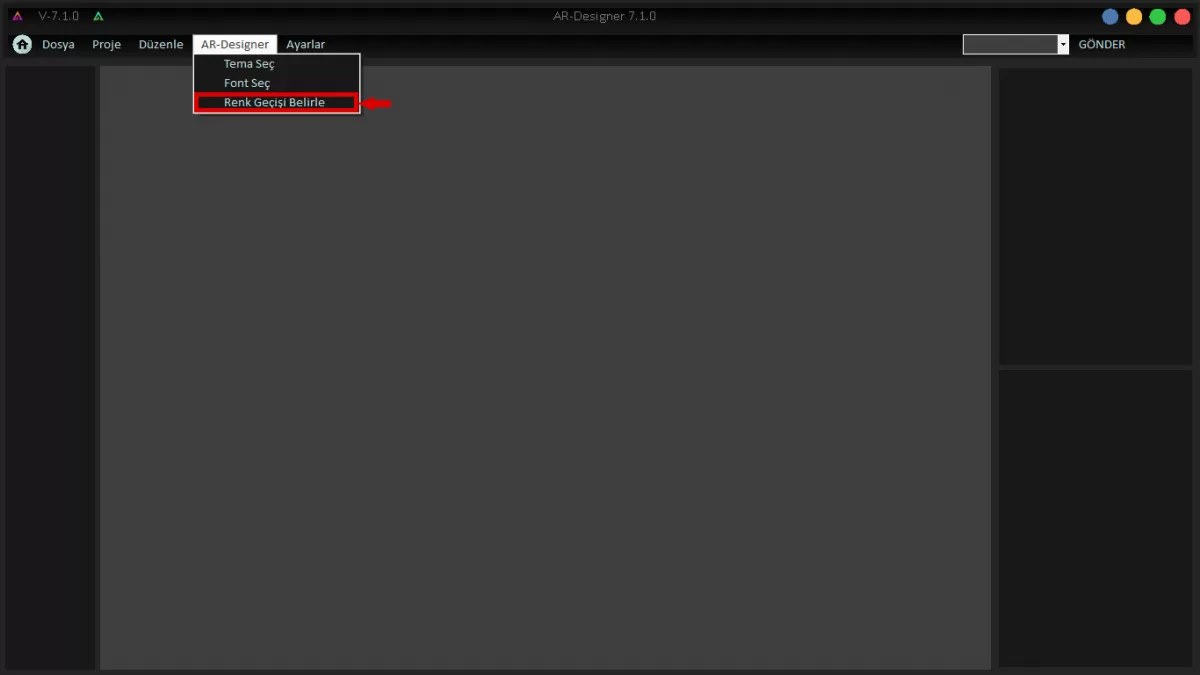
Image 8: Select Color
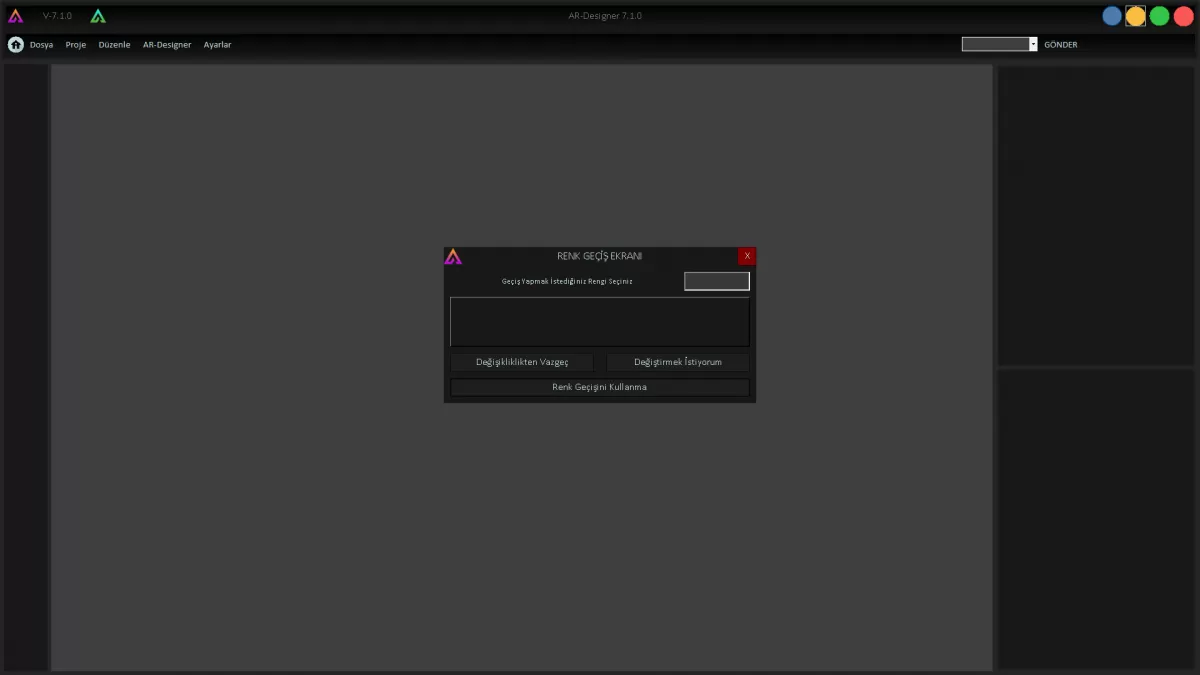
Image 8-1:Select Color Secreen
SETTINGS
You can change the screen resolution of your application through the settings.
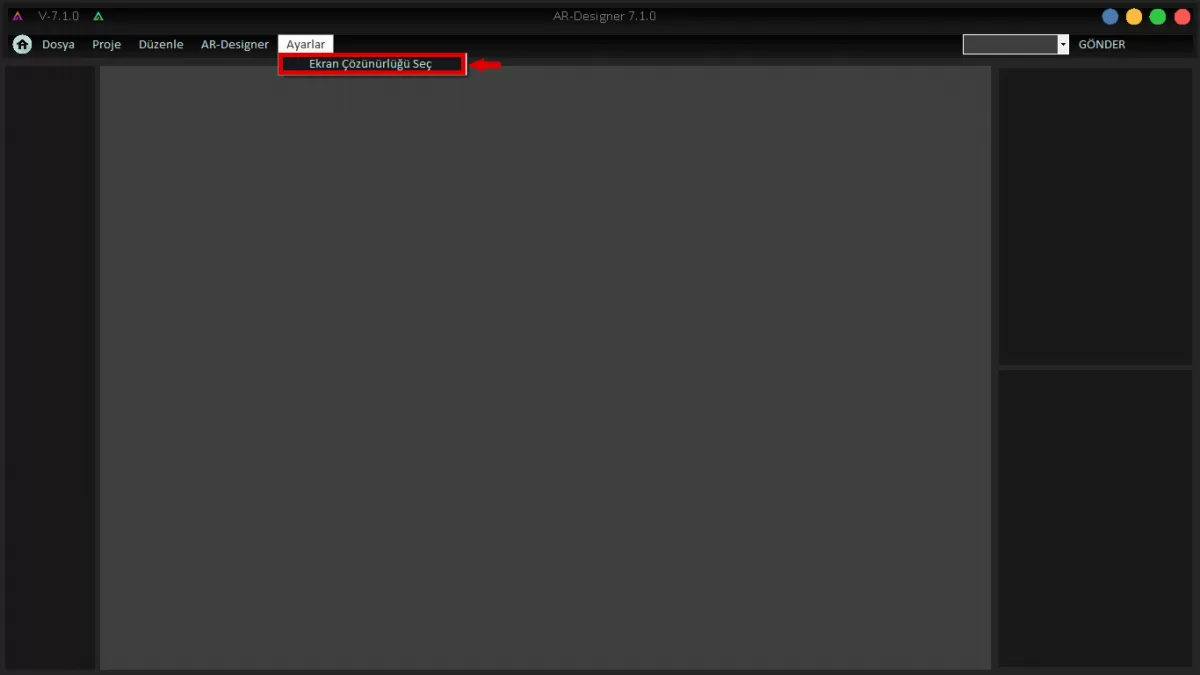
Image 9:Select Screen Resolution
WARNING! Each design made should be based on the resolution of the screen to be loaded. Unless the necessary settings are made, there may be distortions in the dimensions of the loaded design while placing it on the screen.
WARNING! The screen used in Mini Ada is 1280X800 resolution.